
Building a 42-inch E Ink Art Frame

Recently, we wanted to find a way to display Generative AI art in our office at Photoroom. A large TV would have done the job, but we wanted to go for something more original.
So when someone informed me that the E Ink Corporation was selling 42-inch E Ink panels, I was instantly nerd-sniped. That was the perfect project to fuel my non-traditional display addiction. After the flip-dot display salvaged from a UK bus, the quest for an even bigger build was on.
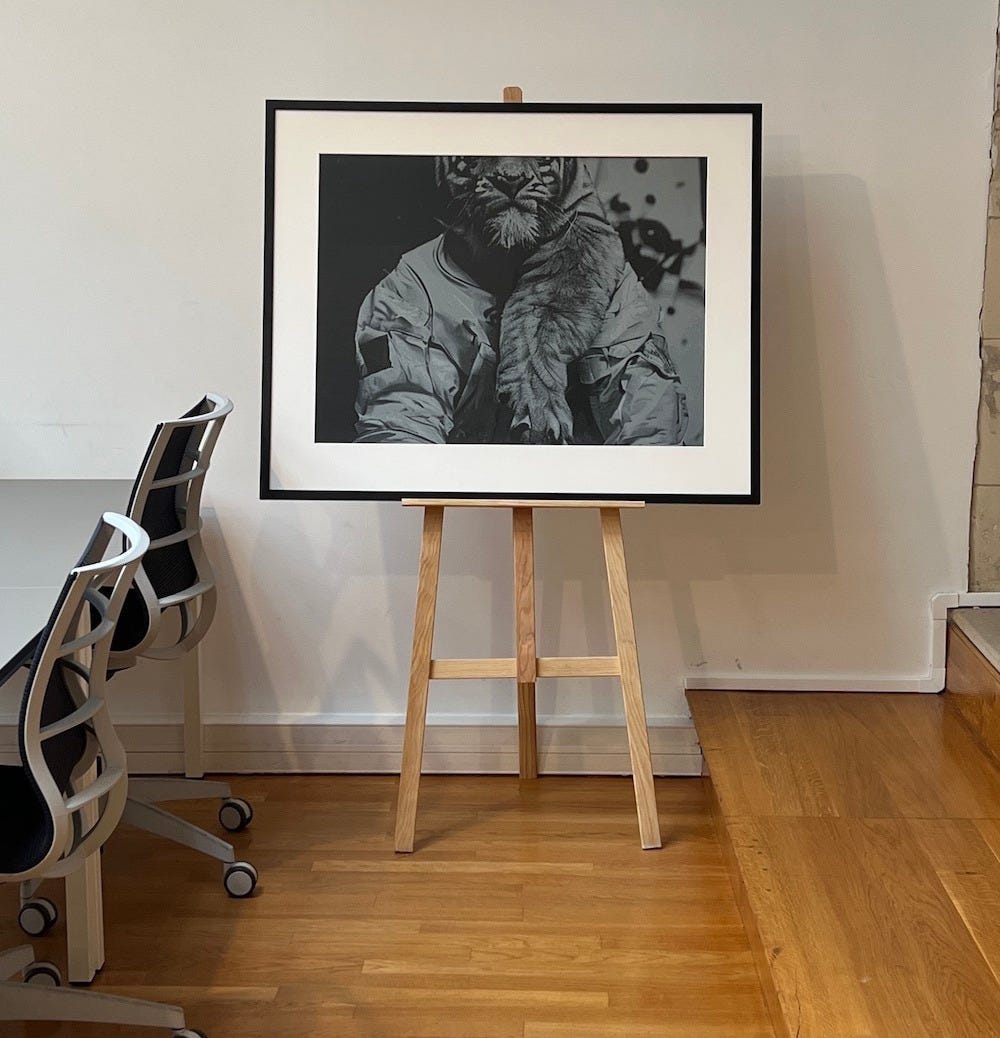
The result
The frame changing from one image to another. The GIF above doesn’t help with quality, HD video available here

The process
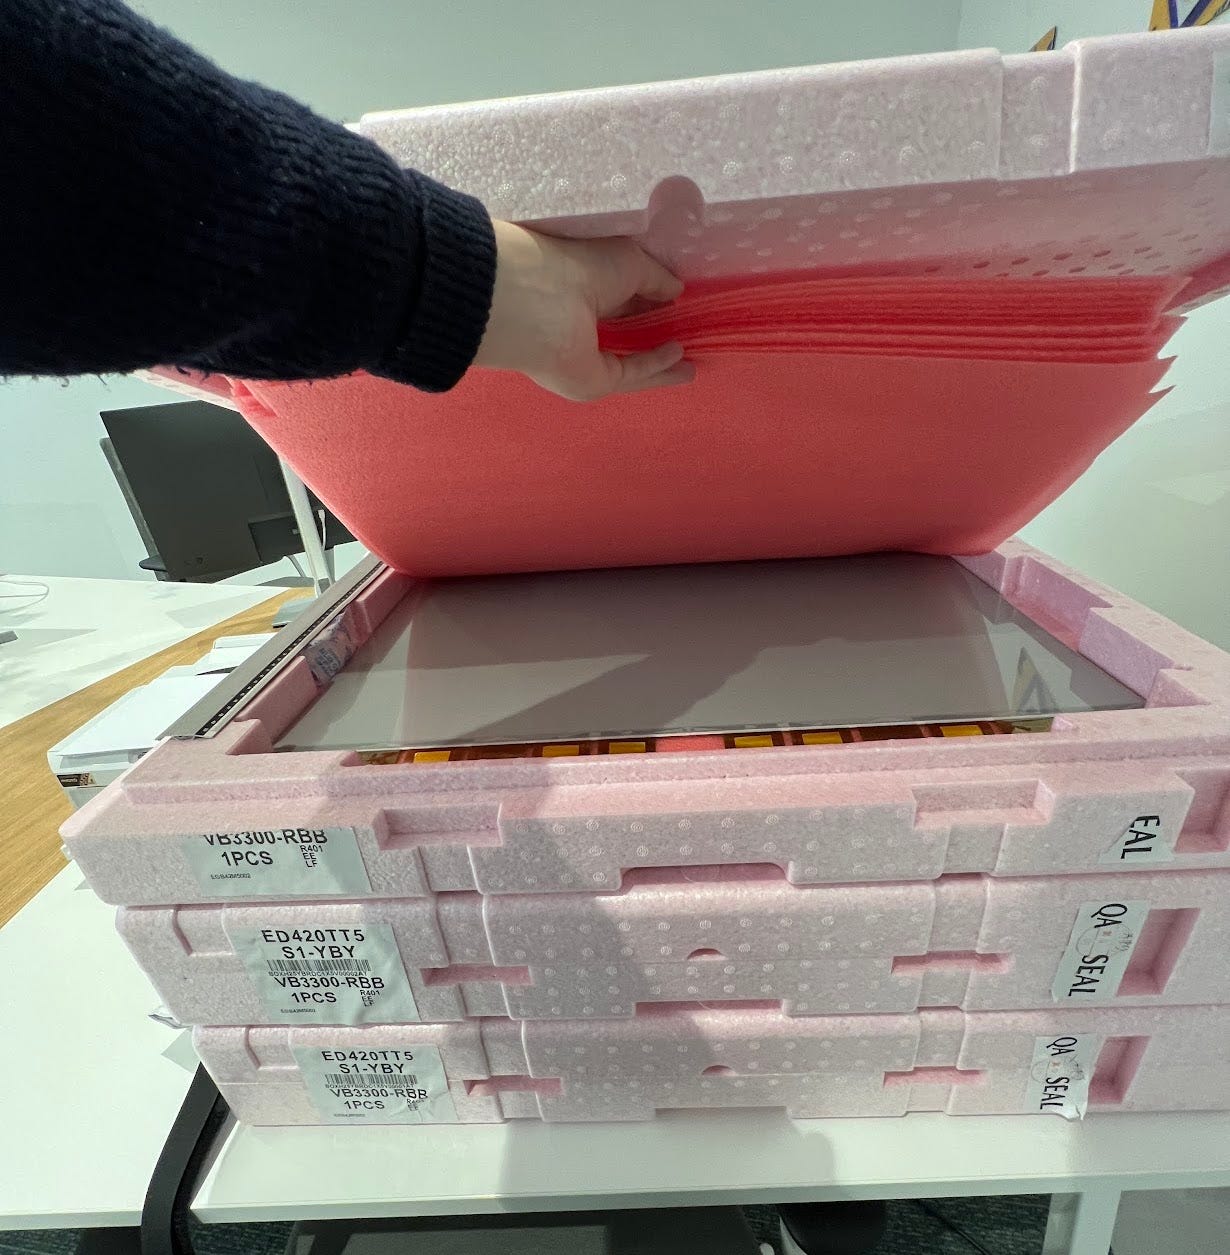
Sourcing components
Some advanced Google-fu was used to find a supplier shipping to Europe. Minimum order quantity: 3 pieces. After a bit of back and forth, the components arrived.
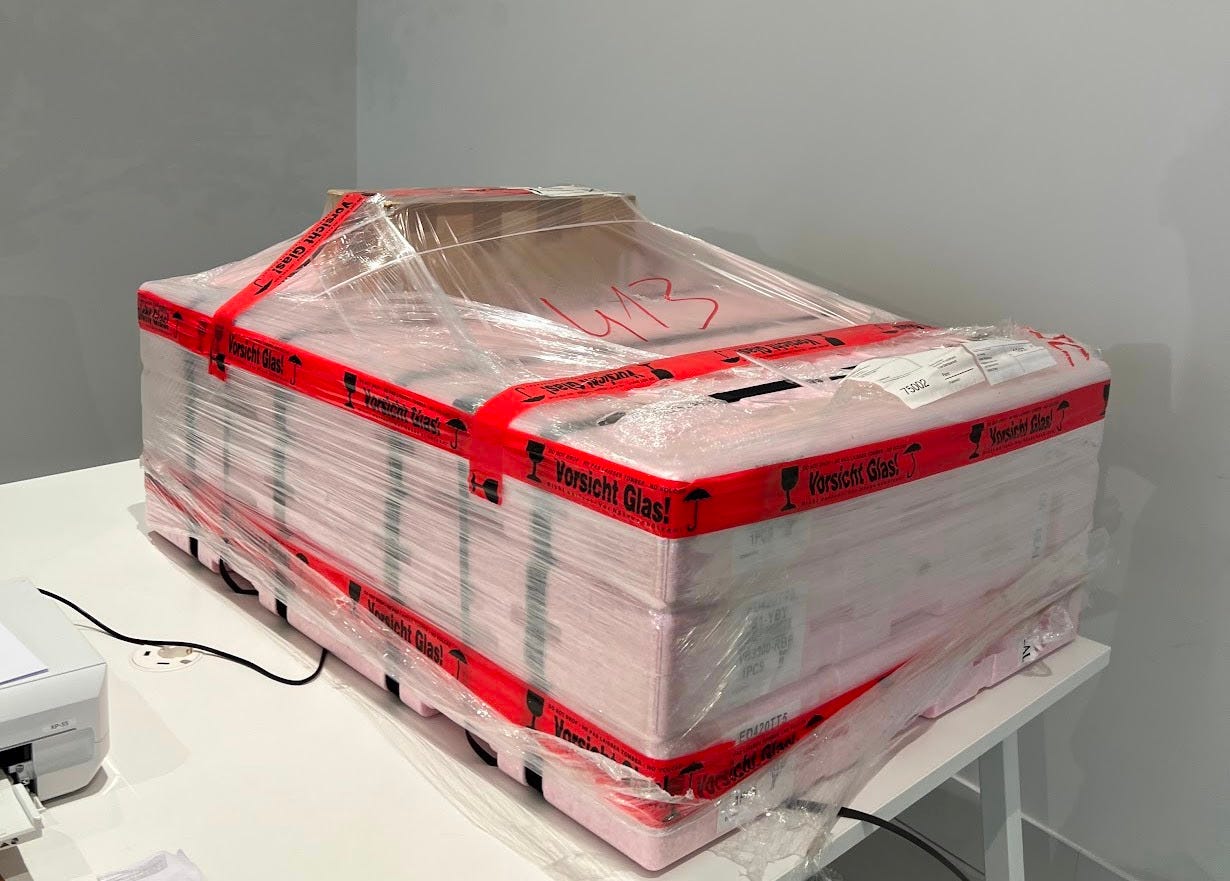
The supplier provided the displays as well as the necessary driving board.
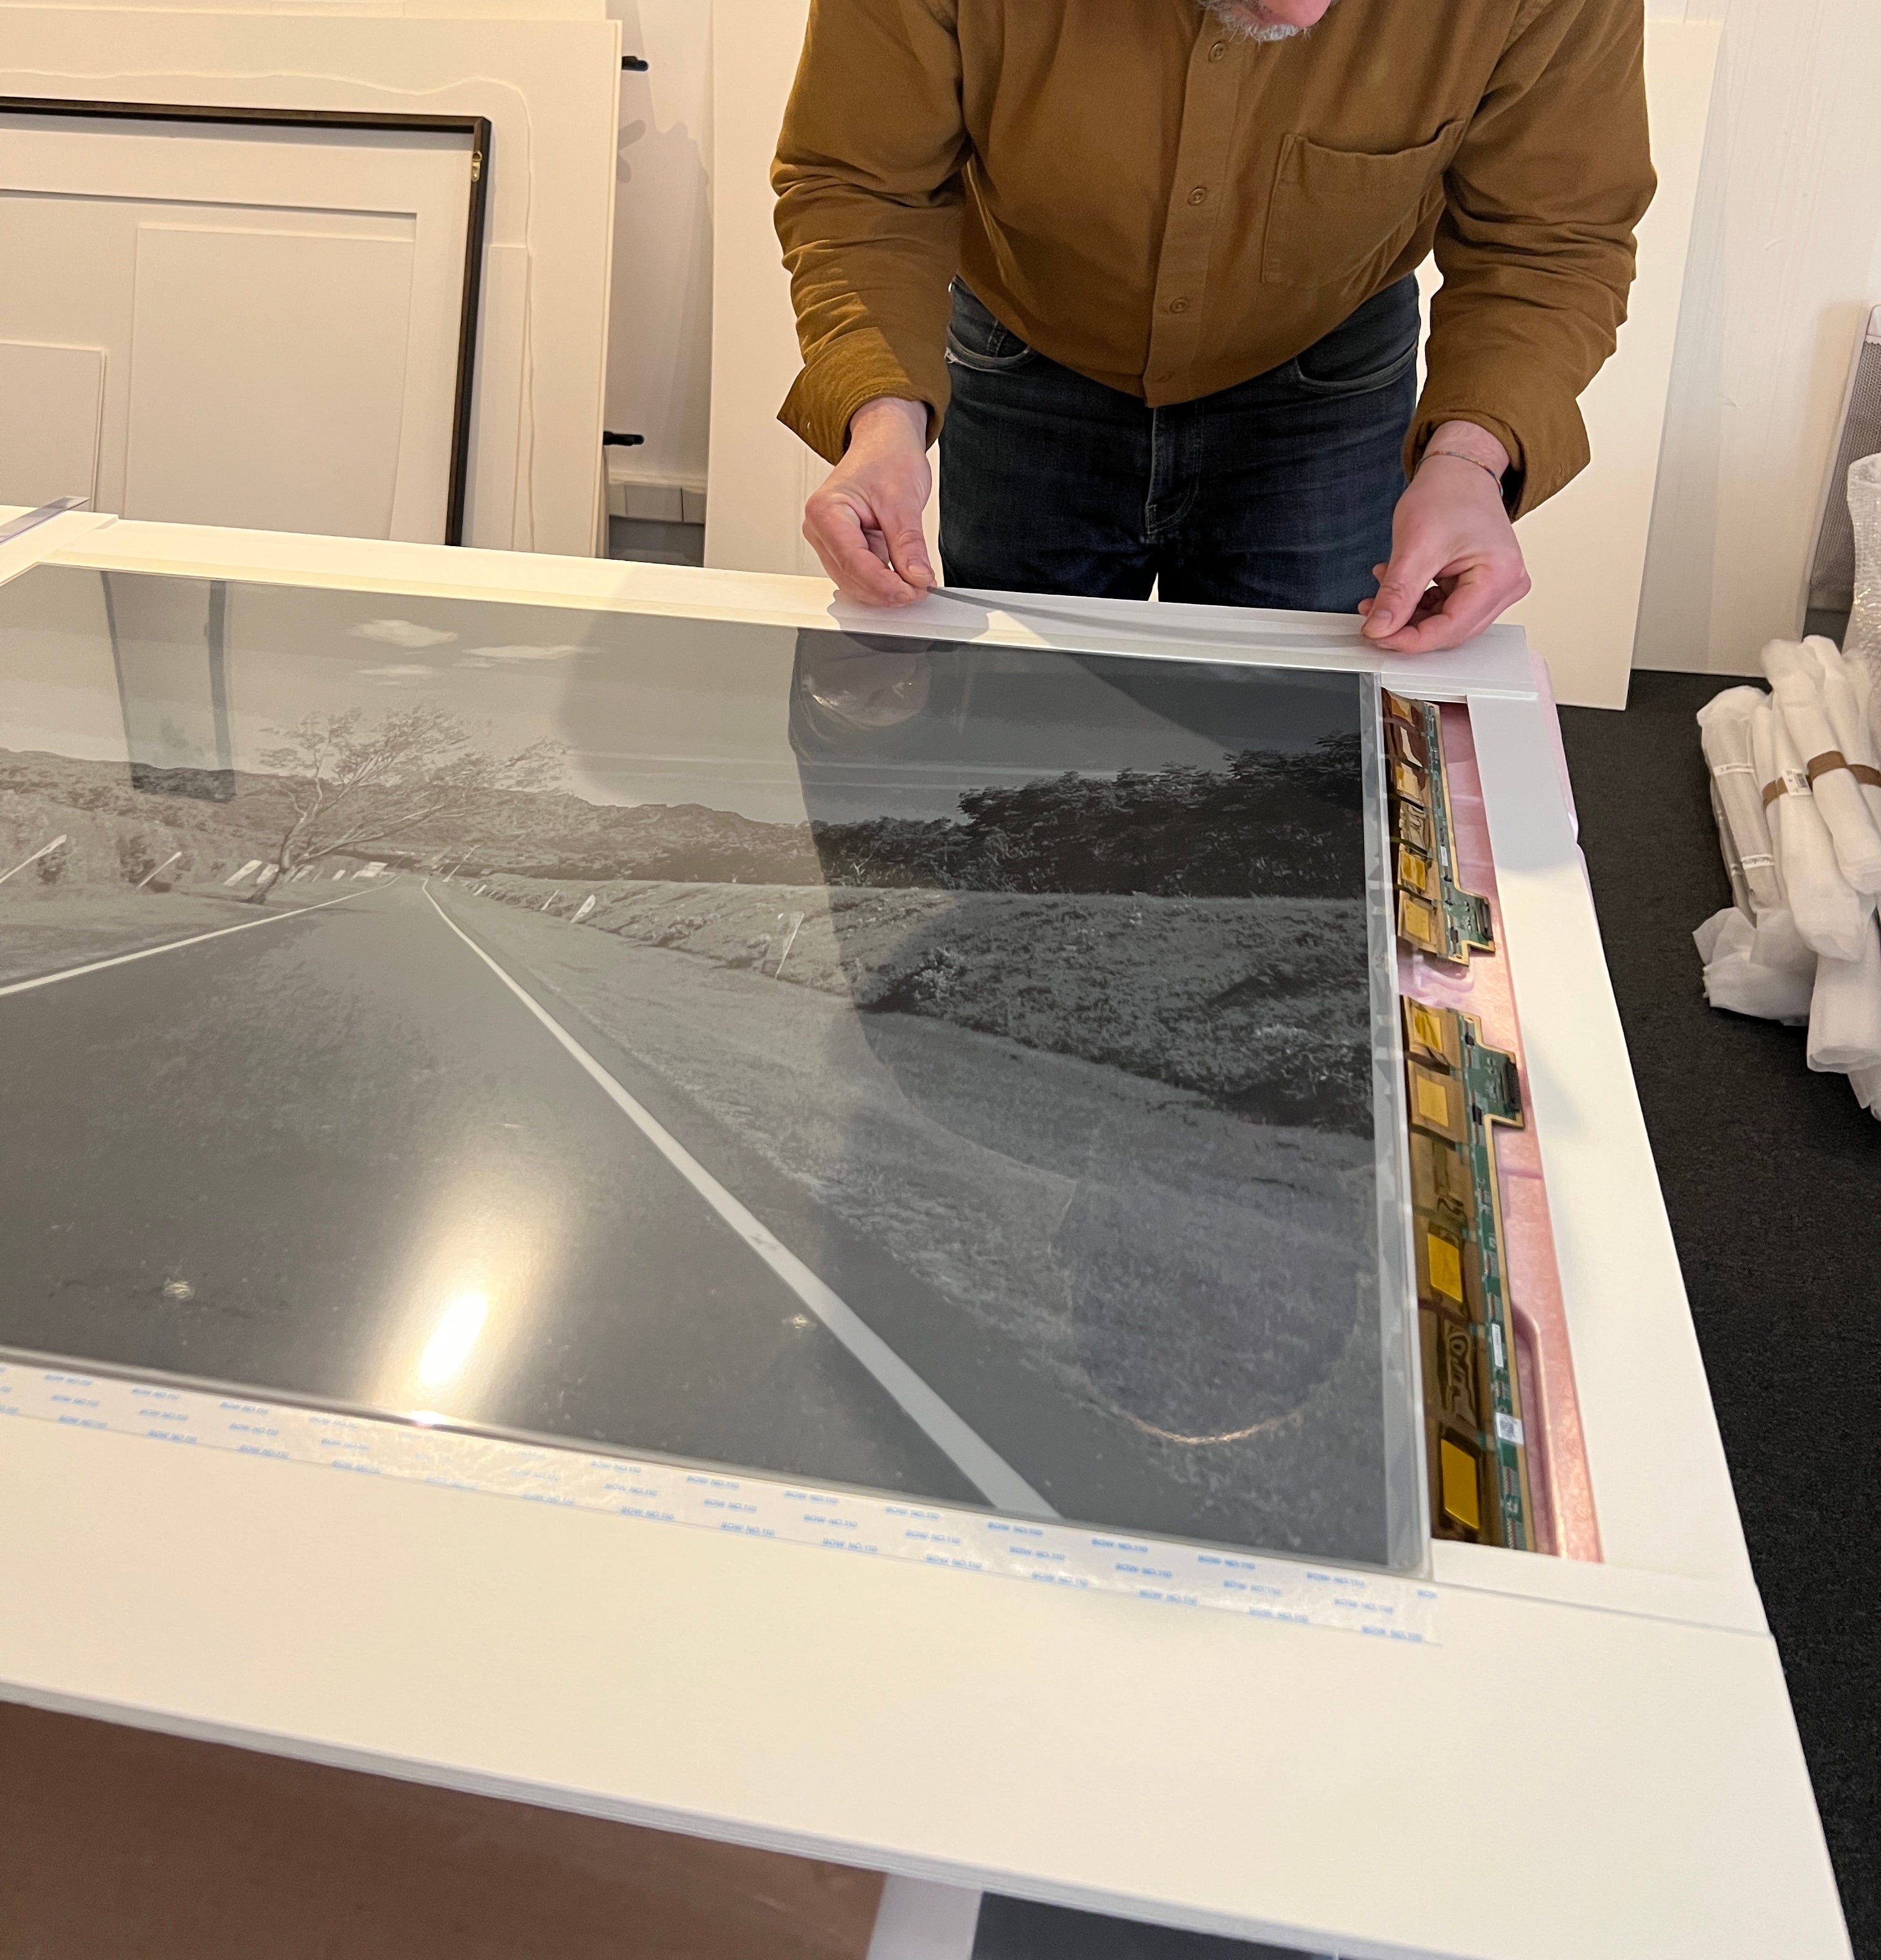
Framing
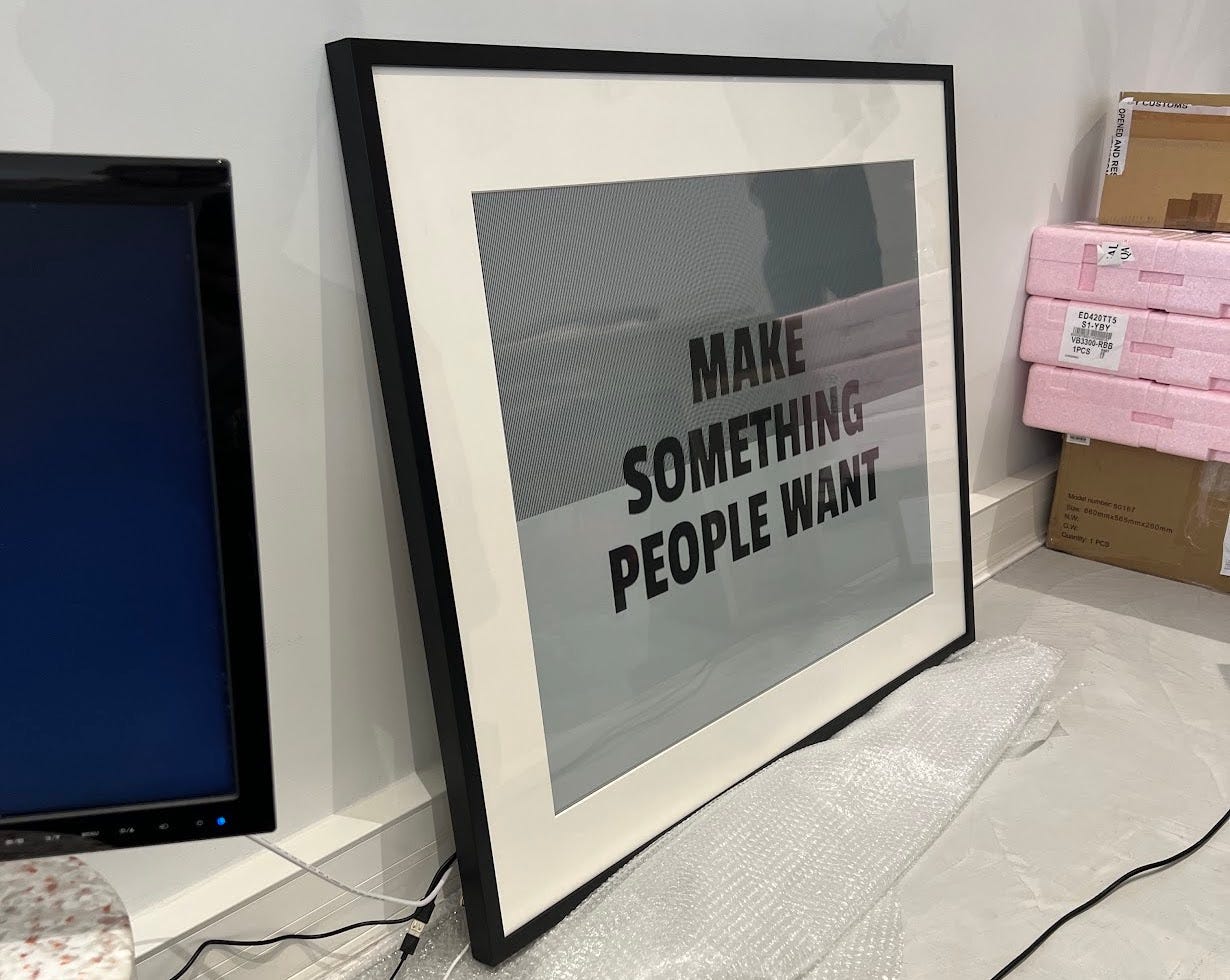
While the pink packaging certainly has its own charm, we decided to go for something more minimalist. Finding a frame shop that could handle this “special” project was not easy. Some straight-out didn’t answer but one of them was interested in that unconventional build.
So we (well, mostly he) set on to custom build a framing system that could enclose the panel without breaking it and without using glue to make repairs / adjustments easy.
The first build we created didn’t turn out great: the display was slipping between the layers. In the second version, we found a way to keep it sturdy.

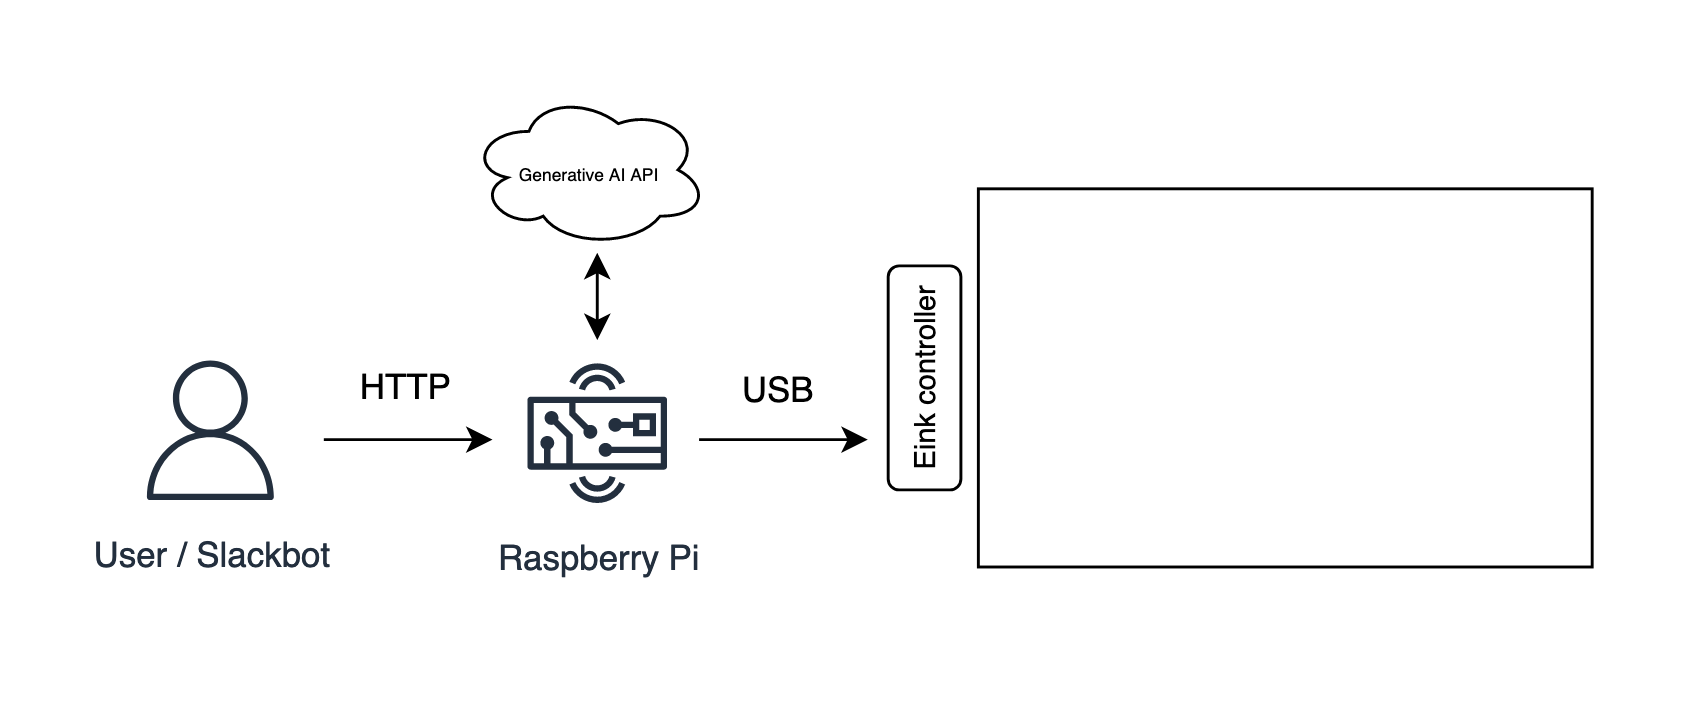
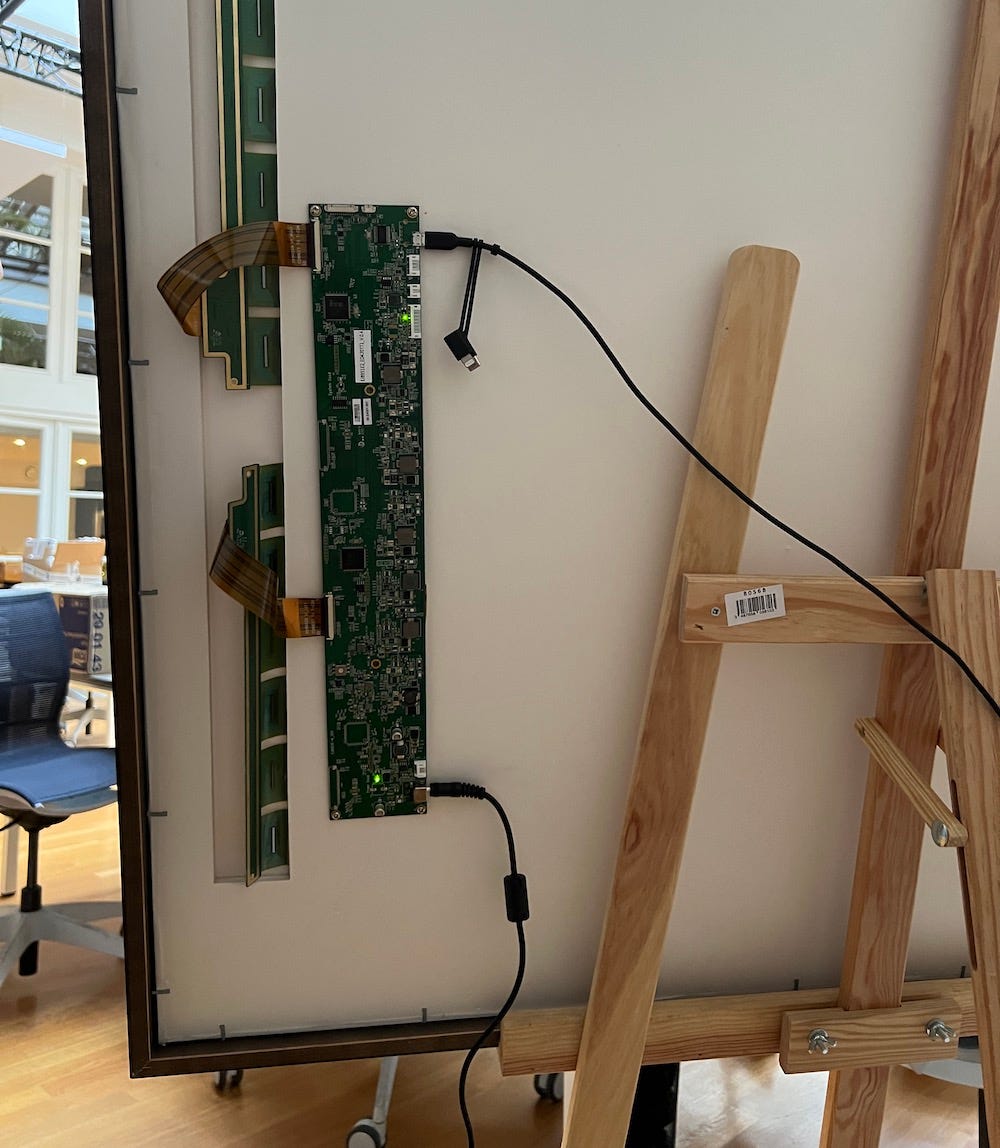
Controlling the display
The display controller can be talked to using USB, so I added a Raspberry Pi on the back. It exposes a small webserver that can receive images to display.Back of the frame. Notice how the ribbon cables don’t align: I think I picked the wrong controller board variant
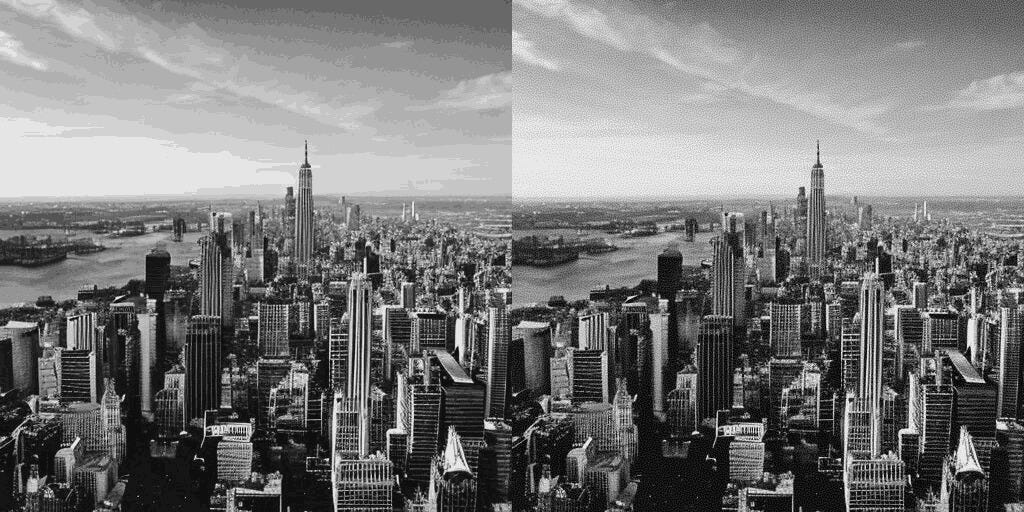
Preprocessing images
The display can only display 16 levels of gray. Displaying images without preprocessing leads to a blocky pattern on gradients in images. Thankfully a few techniques exist. One of them, closer to dark magic than science to me, is called Blue Noise dithering. It consist of adding a blue noise pattern to an image and then thresholding. Simple yet impressive, see for yourself.
Displaying images
If you have ever used a kindle, you’ll know that every few pages it refreshes itself to avoid ghosting. We had the same problem where the previous image would appear slighly faded out, mixed with the new image. The trick is to run a full black then full white image. We found that running 2 full white images did a good enough job, without disrupting the experience too much (see video)
Next steps
The first version of this project now sits in the office. There are a few ideas we’d like to try:
Make it battery-powered: right now it still requires a power cord. It would allow putting it on a wall without cables
Ask ChatGPT to generate prompts for us, turning it into our very own art curator
Acknowledgements
A huge thank you to Charly for the idea and support in this building process, to Nico for the framing and to Florian for the dithering code.
This blog post has been discussed on Hacker News